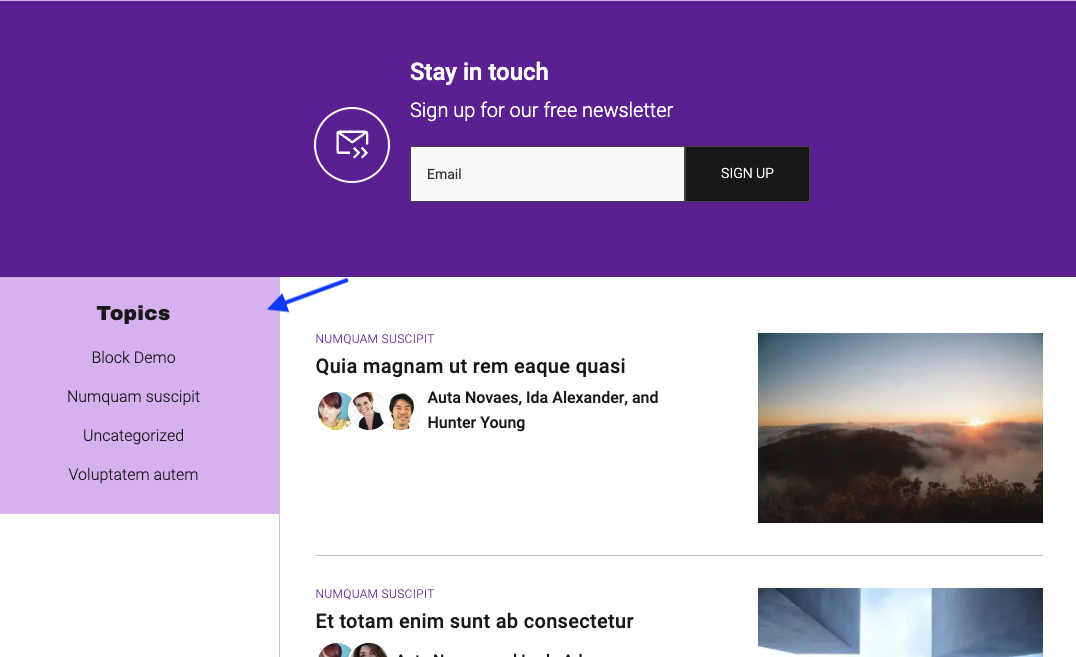
Prerequisites
Before beginning, create the menu you want to display on the homepage. (Detailed menu creation instructions.) Choose a brief, descriptive name for the menu, as this will be visible to users.
Step 1: Set Up the Page Layout
- Navigate to your homepage editor.
- Select the Columns block and choose the 33/66 layout.
- Adjust the sidebar column width as needed.
- Adjust the sidebar column width as needed.
Step 2: Prepare the Columns
In the right column:
- Add your desired content
- In the Column block sidebar, adjust the Left padding to create a space between columns
Step 3: Create the Left Bleed Container
In the left column:
- Add a Group block
- Open the style panel
- Select the Left Edge style
- Choose a background color and text color
- Adjust Top and Right padding in the Dimensions area
The left bleed container should now appear in your editor with the selected background color.
Step 4: Add the Navigation Menu
- Within the Group block, insert the Navigation block
- Click the three-dot menu next to “Menu” in the list view
- Select your desired menu from the available options
- In the Settings panel (cog icon):
- Adjust layout justification
- Set orientation to vertical
- Turn off overlay menu
- Adjust layout justification
- Set orientation to vertical
- Turn off overlay menu
Note: The menu title will not display in the editor but will be visible in the preview and on the frontend.
Best Practices
- Ensure your menu name is clear and descriptive
- Experiment with padding and column widths to achieve the desired look
- Test the layout in different view modes to confirm appearance
By following these steps, you’ll create an eye-catching left bleed sidebar that enhances your homepage!